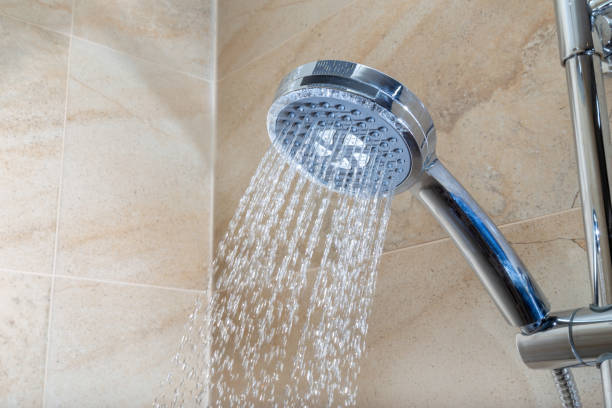
Refreshing your shower with a new shower head can be a simple and cost-effective way to upgrade your bathroom. This do-it-yourself project requires minimal specialized plumbing skills and can be completed in just a few minutes.
Here is a step-by-step guide to help you install a new shower head.
Step 1: Gather Your Tools
Before you begin, gather the following tools:
- Adjustable wrench or pliers
- Teflon tape
- New shower head
- Soft cloth (optional)
Step 2: Remove the Old Shower Head
First, you’ll need to remove the old shower head. To do this:
- Use an adjustable wrench to loosen the nut where the shower head attaches to the shower arm. Be careful not to scratch the finish on the shower arm; you can wrap a soft cloth around the area you’ll be gripping to protect it.
- Once it’s loose, you can usually unscrew the shower head by hand. Turn it counterclockwise to remove it from the arm.
Step 3: Clean the Shower Arm
Before installing your new shower head, it’s important to clean the shower arm:
- Wipe off any debris or mineral buildup from the threads of the shower arm.
- Remove any remaining bits of old Teflon tape that might still be on the threads.
Step 4: Apply Teflon Tape
Teflon tape, also known as plumber’s tape, ensures a water-tight seal between the new shower head and the shower arm.
- Starting at the base of the threads, wrap the Teflon tape around the shower arm in a clockwise direction. This ensures that the tape will stay in place when you attach the new shower head.
- Wrap the tape around the threads 2-3 times, then tear off the tape and smooth the end down.
Step 5: Install the New Shower Head
Now it’s time to install your new shower head:
- Start by screwing the new shower head onto the shower arm by hand, turning it clockwise. Be sure not to cross the threads as you screw it on.
- Once you can no longer turn it by hand, use your adjustable wrench to tighten it further. Again, you can use a soft cloth to prevent scratching the finish. However, be careful not to overtighten, as this could damage the shower head or arm.
Step 6: Test the New Shower Head
Finally, turn on the shower to check for leaks. The water should flow evenly from all holes in the shower head, and there should be no leaks where the shower head attaches to the shower arm.
If you see any leaks, turn off the water and carefully tighten the shower head a bit more, then test again.
Wrapping Up
And that’s it! You’ve successfully installed a new shower head. This simple home improvement project can make a significant difference in your daily shower experience, and best of all, it’s something you can easily do yourself.
Enjoy your new and improved shower!
SCHEDULE A Plumber
Schedule a plumber if you need assistance installing new shower head, we are happy to help.
Read our reviews to learn more about us or our services.

