A new water heater installation can seem like a daunting task. However, you may want to save on the water heater installation cost by tackling the project yourself. Through this article, we will break down the process into a step-by-step guide to help you be able to install a water heater yourself, just like a professional.
Step 1: Disconnect the power
First, determine the details of your water heater, whether it is gas or electric, traditional or tankless. The process will be very similar whether you’re performing a conventional water heater install or a tankless water installation.
When preparing for an electric water heater installation, you will first want to turn the breaker off, that is feeding the water heater with electricity. Always double-check with an appropriate voltage meter to ensure the electricity is off.
Step 2: Turn off the water
The next step to unhooking a water heater is always to shut the water supply off. If there is no shut-off for the water heater alone, you may have to turn your entire home’s water supply off.
Step 3: Drain the water heater
Next, you will want to locate the valve at the bottom of the water heater. Your standard garden hose will be able to thread onto this valve, allowing you to route the hose out of your home or to an appropriate drain so that you can open the valve and empty the water heater.
- If it won’t drain: This is most often caused by mineral build-up in the bottom of the water heater. You can attempt to open the water supply back up while the drain valve is open. This can help to clear the drain and allow the remaining water to flow freely.
- If it’s draining slowly: You can attempt the previous tip of adding water pressure to the draining cycle. It will also help if you open the relief valve while draining the water heater to help add air into the water heater and prevent it from creating a vacuum. But only do this while there is NO water pressure feeding into the water heater.
Step 4: Disconnect the water lines and electrical
You will have to disconnect the water lines next. This is as simple as unscrewing the pipe fittings from the top of the water heater. Depending on your water heater’s installation, you may also have to disconnect the piping hooked to the relief valve. The relief valve is a brass valve located on the side of the water heater near the top with a silver handle.
If your water heater is an electric model, you need to unhook the electrical wires feeding the unit. A cover will commonly be located at the top of the water heater, where the wire will terminate. Remove the screw, pull the cover back, and you should find the power wire connected to the water heater wires. Disconnect these, and you will be ready to move on to the next step.
Step 5: Remove the water heater
If you have unhooked all of the components of your water heater and the water has successfully been drained, then you will be able to remove the water heater from your home. This will most likely need to be done with the help of a two-wheel dolly.
Step 6: What if it is gas?
When preparing for a gas water heater installation, which means it is fed by propane or natural gas, then a few steps will be different from an electric water heater. Instead of unhooking the electrical wires, you will want to unhook the gas line. Always ensure that the gas is turned off before unhooking any gas lines.
You will also need to disconnect the exhaust vent from the water heater. There will be a fitting that rests on top of the water heater. You will generally want to remove this from the exhaust piping and replace it with the new one that comes with your new water heater.
Step 7: Install the new water heater
At this point, you will need to bring the new water heater in and place it in the place of the old one. First, you will want to connect the water lines to the new water heater. If you have new flexible water line connectors, this will be an excellent time to install them. Be sure to use a seal tape or joint compound on any threads that will not utilize a rubber gasket to prevent water leaks.
It is highly recommended that you utilize some form of flexible water line connecter when reconnecting your water heater. These can be made of copper, braided steel, or stainless steel. Do not connect any plastic water line directly to the water heater. The heat from the water heater can damage the pipe and can result in water damage occurring within your home.
It is also recommended to ensure that you install or already have an expansion tank and operational shut-off valve for your water heater.
Connect the electrical wire to the new water heater, and ensure that everything is connected, insulated, and tightened as before the project begins.
Step 8: Turn the water on
Now you can turn the water back on to your water heater. You will want to crack your relief valve or open a faucet in your home to relieve the air pressure as the water heater is filling back up. Once the water heater is full, close the relief valve, and turn the power back on. Now you have hot water.
Step 9: Installing a gas water heater
Once you have put the water heater back in place, connected the water lines, ensured that you have an expansion tank, shut off valve, and connected hoses just like you do with an electric water heater, you can begin to hook up the gas components.
Reconnect the gas line to the new water heater in the same way that the gas line had been hooked up to the previous water heater. You will want to be sure that when connecting any gas fittings, you use pipe dope or a thread sealant rated for gas lines. This is to help ensure that you do not have gas leaks at the connections.
You will also need to reconnect the vent pipe as before. It is possible that the new water heater will be a different height than the previous one and may require you to utilize some sheet metal tools and vent piping to extend or shorten the exhaust pipe. Ensure you install the provided vent adapter directly on the water heater. This allows the vent to draw fresh air in and escape correctly and without issues.
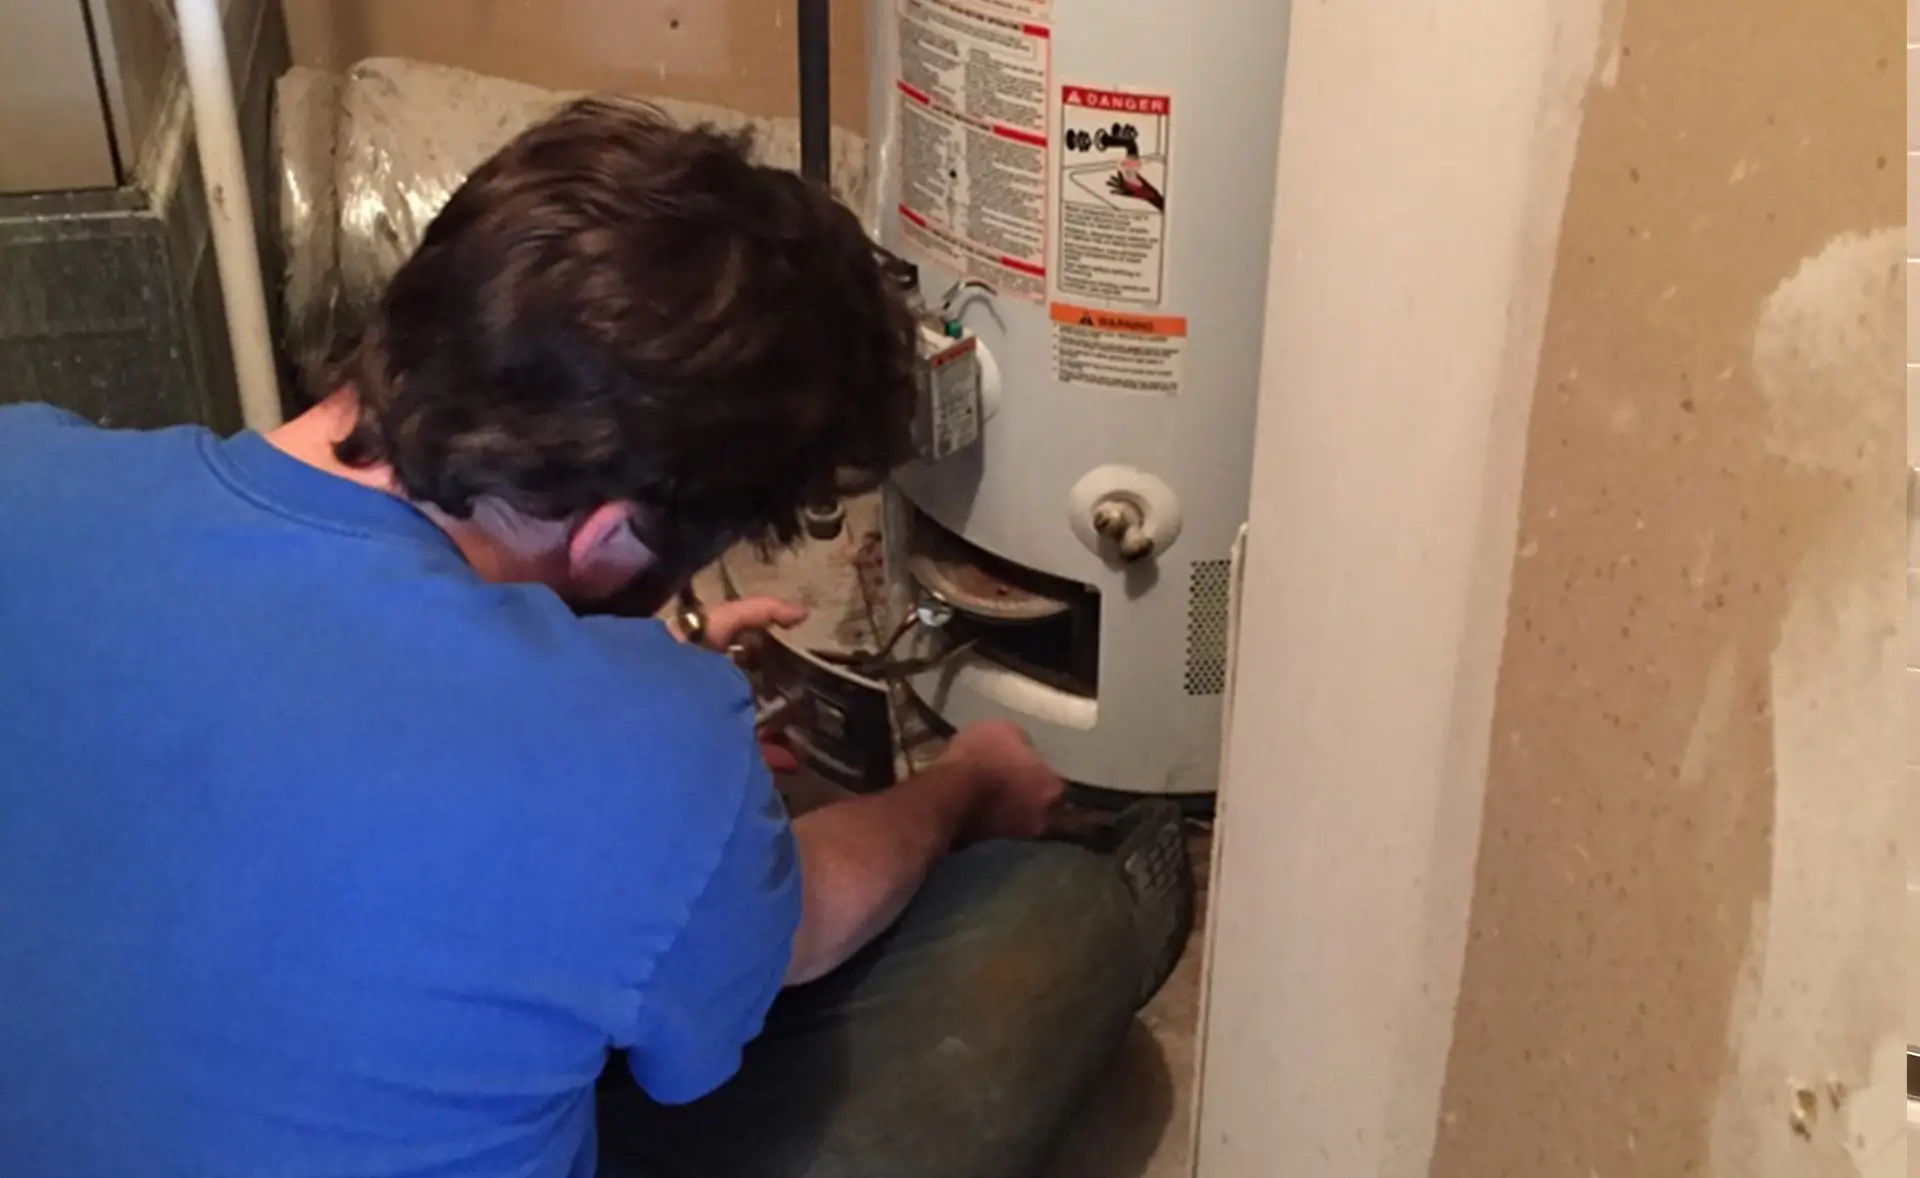
Finally, once you have the gas water heater installed and you have filled the water up in the same manner as the electric water heater, you will be ready to light the pilot light. Unlike electric models, gas water heaters do not have any power. You must follow the instructions on the front of the gas valve and ensure that the pilot light has been lit. Once the pilot light is lit, you can turn the temperature adjustment knob to your desired temperature. You should be able to hear the burner assembly kick in and begin to heat your water.
Step 10: Enjoy your hot water
Now that you have completed your water heater install, your water heater is warming up, and you will soon be able to retake a hot shower.
We hope that this article was beneficial in helping you change your water heater out with a new one. If you ever run into issues, have problems, or get over your head, please reach out to your local trusted professional plumber to help you solve the problem.
Professional companies will always be able to perform expert water heater installation.
Schedule a Plumber
Schedule a plumber if you need assistance, we are happy to help.
Read our reviews to learn more about us or our services.